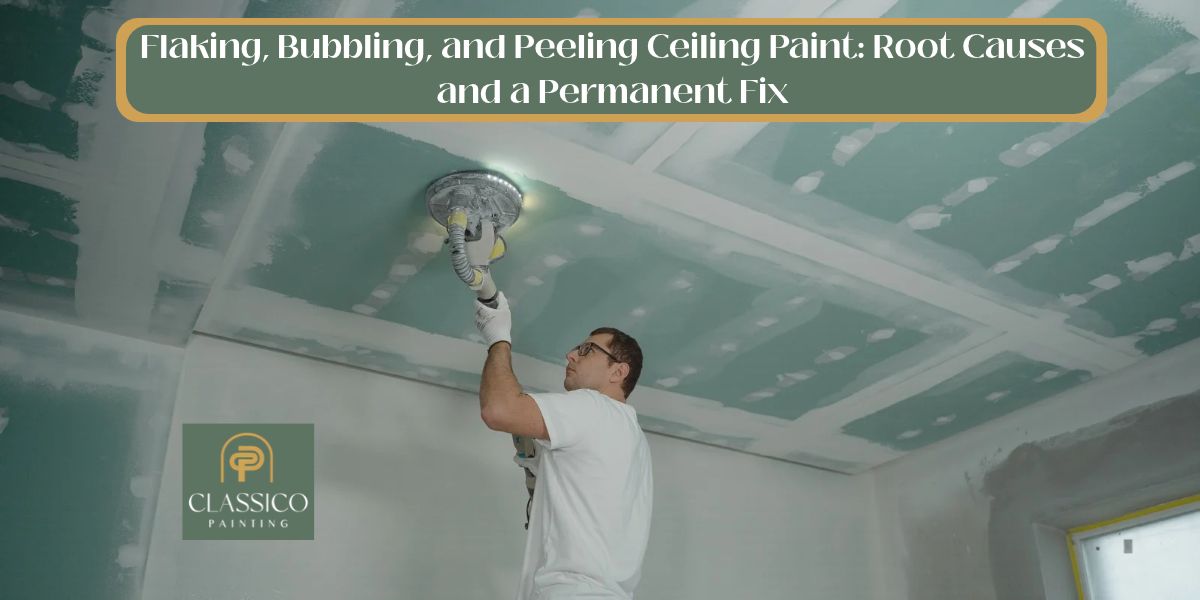
It can be very frustrating to see ceiling paint peeling – especially when your home has just been painted or when the damage seems to arise out of nowhere. Flaking paint, bubbling areas and exposed plaster may make a well kept space appear neglected. More critically though, paint that is flaking might be indicative of moisture issues or poor surface preparation underneath.
For Essendon homeowners, the first step to making a repair that lasts is to figure out why ceiling paint doesn’t work. Finding the root cause of the problem is important before painting, whether it’s in the bathroom, bedroom or living room.
At Classico Painting, we think that adequate surface preparation—rather than just putting another layer of paint—is the first step towards a successful home painting in Essendon. In this article – you will learn about common causes of ceiling paint peeling, how to correctly cure the damaged spots and why hiring a professional painter is a preferable alternative.
Why Is Your Ceiling Paint Flaking, Bubbling or Peeling?
Ceiling paint begins to peel when it’s no longer adhering correctly to the surface behind it. It might be moisture, it can be inadequate preparation, it can be old paint, it can be a mistake in application.
Flaking, bubbling and peeling may look much the same at first but there are a few differences-
- Flaking – Little pieces of paint break off and fall from the ceiling.
- Bubbling – Bumps or blisters appear in the paint – often where moisture or air is trapped underneath.
- Peeling – Paint starts coming away in larger patches or strips, exposing the surface below.
Checking how the paint is coming away and what is causing it – helps you work out whether the ceiling needs a simple scrape and repaint or more thorough repairs.
7 Common Causes of Ceiling Paint Failure
Roof Leaks and Water Damage
If the roof leaks, water can get into the ceiling structure. When water goes through plaster or drywall – it makes the paint less adhere to the surface.
You might see brown or yellow stains, paint that bubbles or parts that start to peel after it rains. Painting over these spots won’t solve the problem for good.
First, the source of the leak needs to be fixed. The ceiling should then be checked for damage and given time to dry before it can be painted again.
Excess Moisture in Bathrooms and Kitchens
Showers, cooking and poor ventilation can create high humidity levels in bathrooms and kitchens.
Condensation can occur when warm moist air hits a colder ceiling. With time – repeated exposure to moisture can cause paint to blister, peel or discolour.
Proper exhaust fans and air flow can help reduce the problem providing better ventilation.
Poor Surface Preparation
Dust, grease, loose paint or damaged surfaces will hinder the new coating from attaching correctly – so paint on these areas.
If paint is applied to an unstable surface then even high quality paint may not work. Cleaning the ceiling, clearing away any loose debris, fixing any flaws and using an appropriate primer are all steps of proper preparation.
Painting Over a Damp Ceiling
The ceiling has to be dry enough before painting. If plaster or plasterboard is damp when you paint it then moisture can become trapped beneath the fresh coat. As that moisture works its way out – the paint may start to bubble, lift or peel.
If your ceiling has recently suffered water damage then fix the source of the problem and let the affected area dry fully before repainting.
Incorrect Paint Application
Heavy painting, wrong products or not allowing the recommended drying time between coats can affect the final finish.
Unfavourable temperature and humidity for painting can also affect drying and adhesion.
By following the paint manufacturer’s application instructions you will get a more consistent result.
Low Quality or Incompatible Paint
Not every paint product is compatible. Peeling may occur if you apply over a previous coating that is unsuitable or inadequately adhered.
With a decent primer and a ceiling paint tailored for the surface – the paint will adhere better and stay longer.
Poor Ventilation and Excess Humidity
If the airflow is limited – the moisture will stay in the rooms for longer. This can cause more dampness and repeated paint issues.
Bedrooms, toilets, laundries and kitchens are generally poorly ventilated.
How to Identify Whether Moisture Is Causing Ceiling Paint to Peel
Moisture related paint deterioration will usually show tell-tale warning indications. Search for-
- Yellow or brown water stains on the ceiling
- Paint bubbles that continue to grow
- Soft or swollen plasterboard
- Peeling paint around the bathroom ceilings
- Signs of chronic moisture or musty odours
- Stains that get darker with the rain
A significant distinction is whether the harm recurs. If the ceiling has been painted again but you see stains or bubbles coming back, there may still be a leak or moisture issue you haven’t handled.
Sagging ceilings, soft plasterboard or water near electrical fittings should be attended to by a professional as soon as possible. Don’t handle electrical fittings that are damp or attempt to fix them until the area has been checked for safety.
How to Fix Flaking, Bubbling and Peeling Ceiling Paint Permanently
More is needed for a long-lasting ceiling paint restoration than just getting rid of obvious flaking. The underlying surface ought to be dry, sturdy and repaintable.
Step 1. Locate and Repair the Moisture Source
Before you start painting, check for roof leaks, plumbing problems, humidity or inadequate ventilation.
Before any cosmetic work starts any leaks should be fixed. Otherwise moisture might continue to damage the newly painted surface.
Step 2. Remove Loose and Broken Paint
When paint has already lost its adherence, scrape it off. Get rid of blistered areas and loose flakes until you have a solid surface.
Make sure you have the right safety gear on and watch out for falling paint and dust. Before disturbing older coatings – get them evaluated if they could contain lead.
Step 3. Repair Damaged Ceiling Surfaces
Examine the exposed area after removing any loose paint.
Sanding and filling may be necessary for small surface flaws. Instead of adding another layer of filler, water damaged, soft or degraded plasterboard might need to be replaced.
Step 4. Allow the Ceiling to Dry
Don’t hurry this phase. Before applying primer or paint – the ceiling must be properly dry.
The amount of moisture, temperature, ventilation and materials all affect how long it takes to dry. Moisture readings can be used to verify if the surface is prepared if needed.
Step 5. Apply the Correct Primer or Sealer
Paint adherence is enhanced and a uniform surface is produced with the aid of an appropriate primer.
If water marks are still present after the leak has been fixed and the surface has dried, stain blocking treatments could be required. The type of damage and the material of the ceiling determine which product is best.
Step 6. Repaint the Ceiling
Apply an appropriate ceiling paint in accordance with the manufacturer’s recommendations once priming and preparation are finished.
Before applying next application, let each one completely dry. An even look free of noticeable spots or uneven covering may be achieved with consistent application.
DIY Ceiling Paint Repair vs Professional Painting
DIY Ceiling Repair-
- Great for tiny areas of loose or flaking paint.
- It works best when the ceiling surface is sturdy and dry.
- Requires adequate scraping, sanding and surface prep.
- Before you paint – you have to repair the source of the damp.
Professional Ceiling Repair-
- Recommended for extensive peeling and repeated blistering.
- Helps spot water damage and decaying drywall.
- Ensures proper surface preparation and primer selection.
- Gives a more dependable method for major ceiling restorations.
- Will need to get correct trade to repair active roof or plumbing leaks prior to painting.
How to Prevent Ceiling Paint from Peeling Again
Preventing recurrent damage begins with managing moisture and preserving the ceiling surface.
Some practical measures are as follows-
- Repair roof & plumbing leaks as soon as you find them.
- Use exhaust fans in the bathroom and kitchen.
- Improve ventilation in locations where condensation is a problem.
- Do not paint on wet plaster or plasterboard.
- Before you paint over it – remove any loose paint.
- Use primers compatible with the present surface.
- Allow recommended dry time between coats.
- Inspect ceilings periodically for bubbling, stains & cracks.
Routine checks can help catch little issues before they become big fixes.
When Should You Call Professional Ceiling Painters?
If the paint failure is extensive – keeps recurring after you repaint or is related to water damage, it is worth getting professional help.
If the ceiling seems mushy, sags or has broken plasterboard – you should also get it assessed.
Homeowners contemplating interior upgrades with professional house painting in Essendon might benefit from a carefully planned project with surface preparation, ceiling repairs and repainting.
The best way to proceed will depend on the state of the ceiling, the amount of the damage and if the underlying cause has been addressed.
Conclusion
Flaking, bubbling and peeling ceiling paint – can be a sign of moisture damage or poor surface preparation. To achieve a lasting finish you will need to find the cause, repair the surface and use the correct primer.
For professional painting services – contact Classico Painting for expert advice and quality workmanship.